A Complete Guide on Installing a Pulley Cloth Drying Hanger on Your Balcony
- hiflyhangers
- Nov 18, 2024
- 3 min read
Table of Contents

Introduction
Are you tired of clutter in your balcony while trying to dry your clothes? Learning how to install a pulley cloth drying hanger in your balcony can be a game changer. Not only does it save space, but it also offers efficient drying with minimal hassle. If you’re in Bangalore and looking for Hi-Fly hangers, this guide will help you every step of the way.
Using a pulley cloth drying hanger has numerous advantages:
Space-Saving: By lifting clothes off the ground, you maximize your balcony space.
Efficient Drying: Elevating clothes allows better airflow, reducing drying time.
Ease of Use: The pulley system makes it easy to hang and retrieve clothes without the need for bending.
Weather Protection: You can keep your clothes out of reach of dirt and rain.
Materials Needed for Installation
Before you begin with your installation, ensure you have the following materials ready:
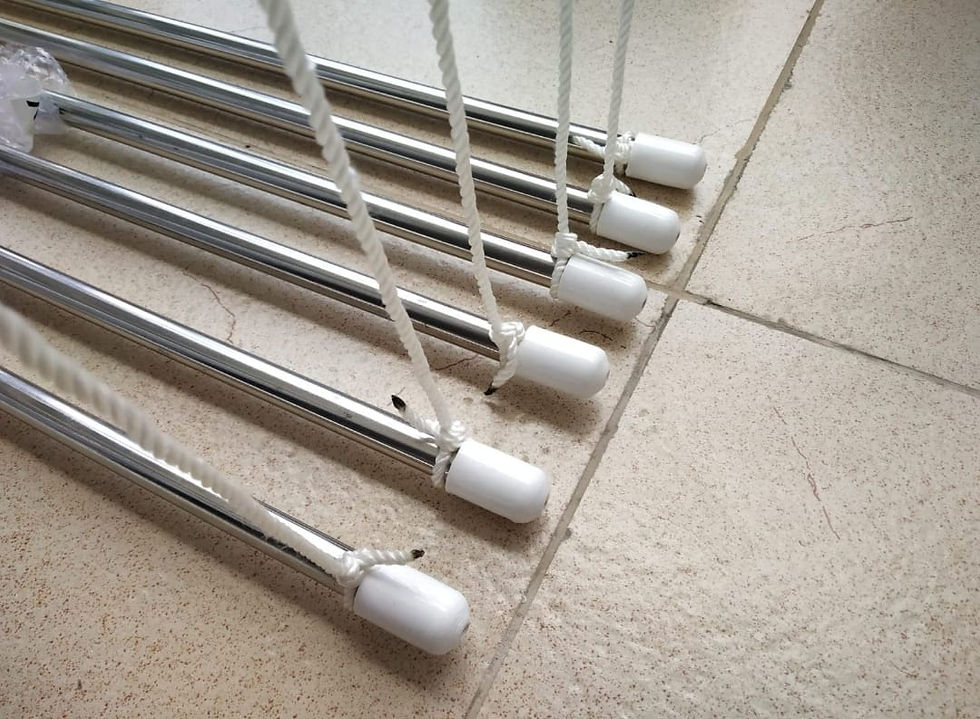
Pulley cloth drying hanger (available at stores, including Hi-Fly Hangers in Bangalore)
Drill and drill bits
Screwdriver
Tape measure
Level
Pencil
Wall anchors (if required)
Ladder
Step-by-Step Installation Guide
Step 1: Choosing the Right Location
Finding the perfect spot for your pulley cloth drying hanger is crucial. Look for:
An area with ample sunlight to aid drying.
A location that is easily accessible.
A spot where the pulley system has enough height for raising and lowering clothes.
Step 2: Marking the Installation Points
Once you’ve chosen your location, mark the installation points:
To make sure the pulleys are spaced equally, use a tape measure.
Mark the height you want the system to hang, considering the reachability.
Step 3: Drilling Holes
Now you’re ready to drill:
Using the level, ensure that the markings are straight.
Drill holes into the solid parts of the wall or ceiling. If you hit drywall, use wall anchors to provide extra support.
Step 4: Installing the Pulley System
With your holes drilled:
Attach the pulleys according to the manufacturer’s instructions.
Secure them tightly, ensuring they are stable and can support the weight of wet clothes.
Step 5: Setting Up the Clotheslines
After the pulleys are in place:
Attach the clotheslines to the pulleys.
Make sure the lines are taut, which will help in preventing sagging when you hang clothes.
Tips for Using Your Pulley Cloth Drying Hanger
To make the most out of your new clothes drying system, consider the following tips:
Regular Maintenance: Check the pulleys and lines for wear and tear periodically.
Strategic Hanging: Hang heavier items closer to the wall and lighter items further out for optimal drying.
Weather Considerations: If rain is forecasted, bring the clothes inside quickly to prevent getting wet.
Organization: Consider using clothespins to keep clothes in place and organized.
If you’re looking to buy Hi-Fly hangers in Bangalore, consider visiting local hardware stores or home improvement centers. You can also explore online platforms like Amazon or Flipkart for a wide variety of options, ensuring you choose the right style and size for your needs.
Conclusion
In summary, learning how to install a pulley cloth drying hanger in your balcony is both straightforward and beneficial. Not only does it save you space, but it also optimizes your drying process. Choose your materials wisely, follow the installation steps, and enjoy an organized, clutter-free drying experience in your home. For high-quality options, including Hi-Fly hangers, check out stores in Bangalore to get started today!


Comments